Index
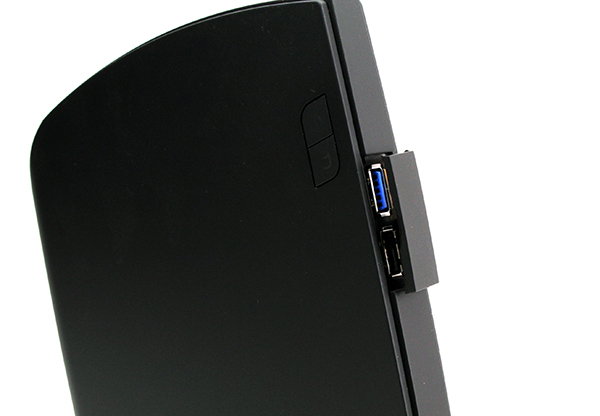
Taking the HD4 apart requires more attention and caution than skill. Still, it’s necessary to follow some simple steps, but be warned – in case you get a full system rather than a barebone, disassembly will void the warranty. The covers can be removed using a thin, flathead screwdriver. However, the avoid scratches it might be a better idea to use an old ATM card. Start by removing the back cover, the one with the sticker.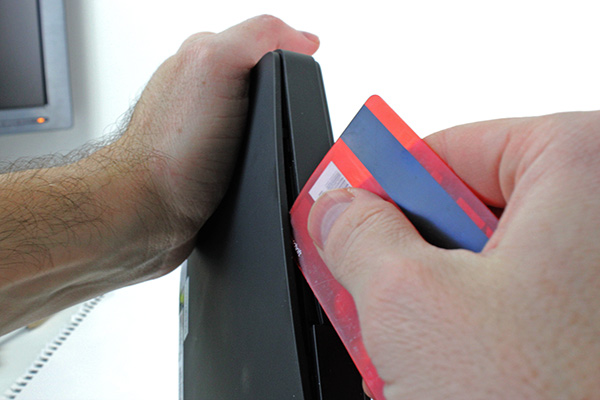
Look at the picture below to see locations of the small latches that need to be unhinged.
After the back cover is removed it is possible to access the rest of the screws (one screw is located under the warranty sticker).
The next step is to remove the screws surrounding the VGA connector, after which it is possible to remove the front cover.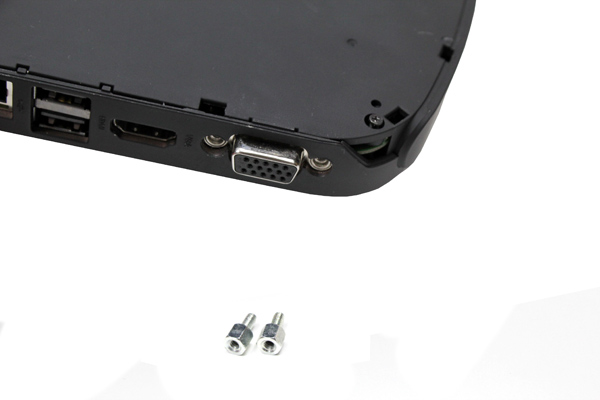
Removing the front cover should be a smooth affair. In case you encounter too much resistance, it’s probably an indication that you missed a screw. Once again, use a plastic card instead of a screwdriver to protect the surface from scratches.
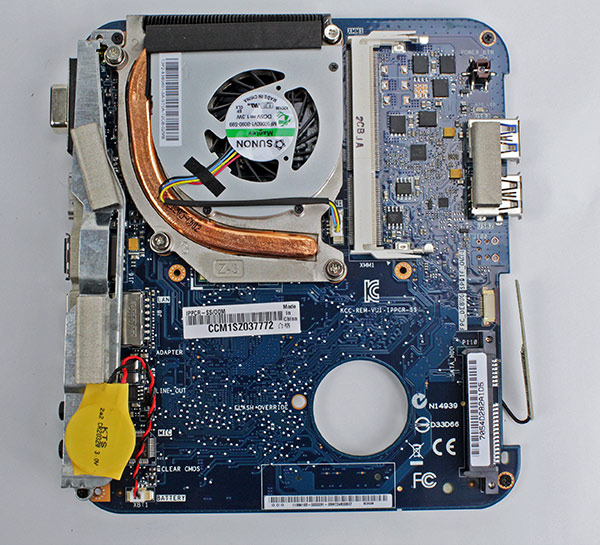
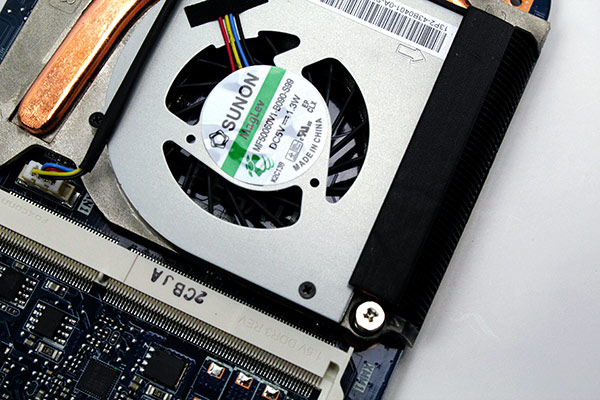
Note the low profile heatsink and small GPU/CPU fan.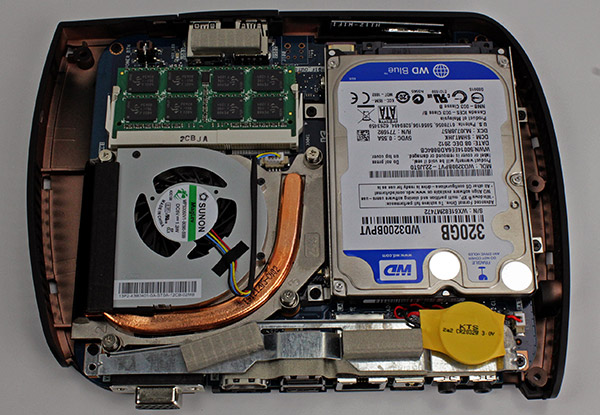
The Edge HD4 ships with a single 4GB DDR3-1333 SO-DIMM module and a 320GB 5400rpm hard drive, courtesy of Western Digital.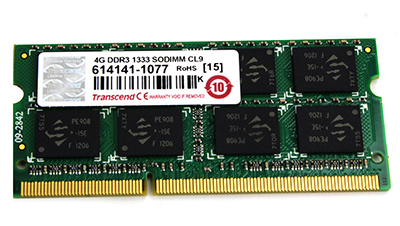
The Western Digital Scorpio Blue WD3200BPVT 320GB 5400 RPM 8MB Cache 2.5" SATA 3.0Gb/s usually comes with laptops and is considered ‘stock’ drive and it is meant for daily computing. The same goes for the Samsung Spinpoint M7E HM321HI 320GB, which we encountered in the HD3. We were hoping for a somewhat faster drive this time around, but on the upside the WD is very quiet and you we did not notice any noise whatsoever.
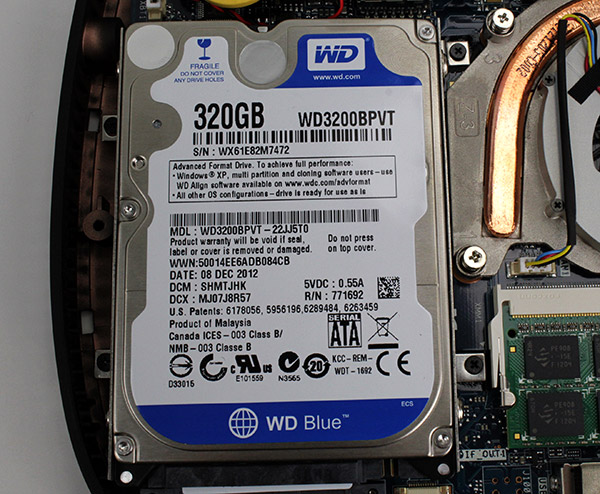
The WD3200BPVT drive uses Advanced Format Technology that is being adopted by WD and other drive manufacturers to increase media format efficiency, thus enabling larger drive capacities. Advanced Format drive uses 4KB sectors instead of 512 byte sectors, allowing for greater platter density and therefore fewer platters & faster sequential read/writes.