Index
- Alienware M17x-R4 reviewed
- A closser look at M17x-R4
- A closer look at M17x-R4 continued
- Alienware M17x-R4 disassembly
- Crysis 3
- Far Cry 3
- Sleeping dogs
- Dirt Showdown
- Hitman Absolution
- Metro 2033
- 3DMark and 3DMark 11
- PCMark 7
- Cinebench R11.5 64-bit
- WinRAR and 7-Zip Benchmarks
- SSD Benchmarks
- Battery life and power consumption
- Thermals and noise
- Conclusion
- All Pages
The front features a typical Alienware look, seen in countless previous models. It is instantly recognizable and overdesigned. There’s no other way of saying it, the M17 is huge. It’s 4.5cm thick, so the designers tried a few tricks to make it look a bit less chubby. They went for a sloping design with plenty of straight edges, akin to a stealth jet or a Lamborghini.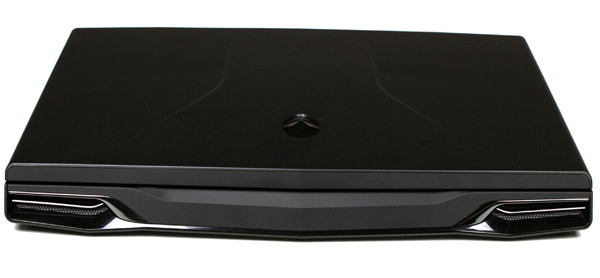
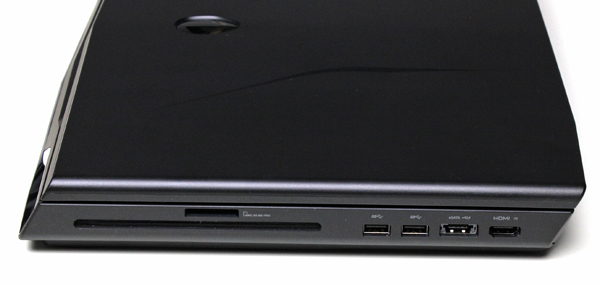
On the left hand side you will find two USB 3.0 connectors (painted in black), eSATA, nine-in-one card reader equipped a micro SD slot. Also, there is slot-loading dual layer Blu-ray reader (BD-ROM, DVD±RW, CD-RW). Note that this is custom build and you can get some other optical drives as well.
You won’t come across an HDMI input port on most lappies, but the Alienware actually has one. We tried it out and connected out desktop rig to the Alienware, which was practically transformed into a monitor in the process. You can tinker around with a few HDMI-in settings in the driver control panel.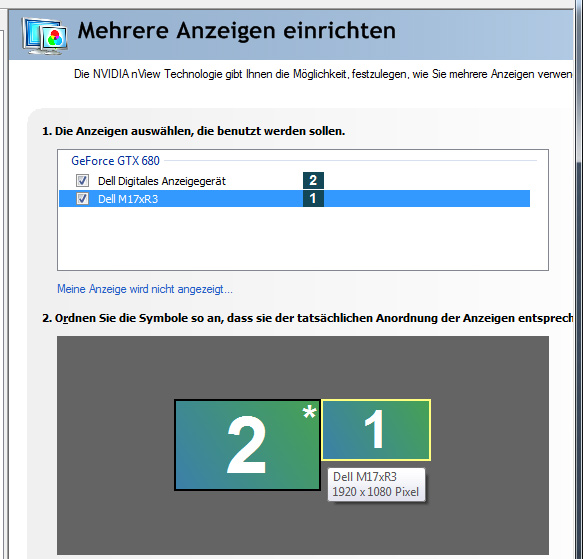
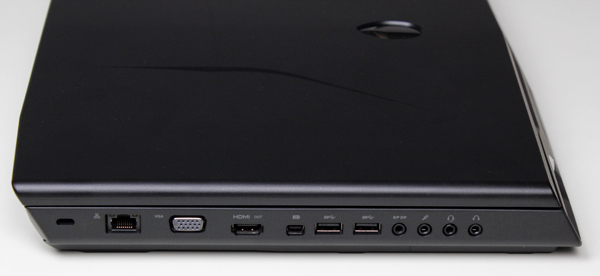
Displayport, HDMI, and VGA outs are also part of the design. Next to them on the left hand side you will also find two USB 3.0 ports, a Gigabit LAN port, S/P DIF, microphone, headset and headphone connector. You can share your movie sound without a splitter, which is a great option for people who fly a lot. Let’s not forget the Kensington lock as it is still there, but the 1394 Firewire port for cameras that many video enthusiasts can find attractive for speedy content transfer is no longer present.
The back side features two huge exhaust vents along with the DC power connector.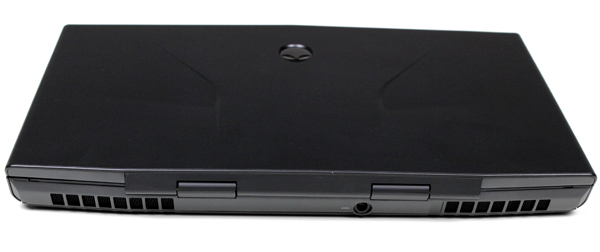
The power cable features a blue LED to indicate when it is connected to the power outlet. The LED has no other purpose and it looks more like an aesthetic detail than anything practical.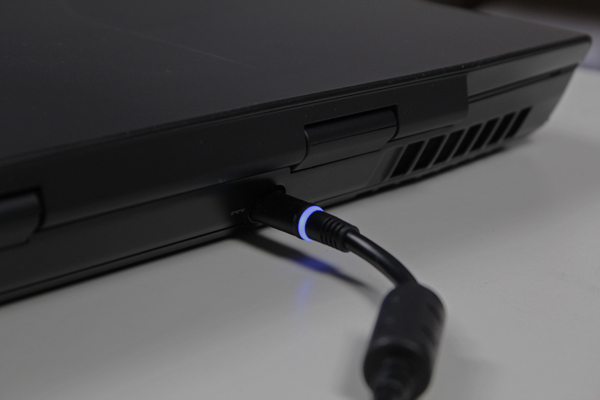
We already said that the power adapter is pretty bulky. Luckily it is not a brick, it features a somewhat flatter design and it can be easily fitted into a backpack or laptop bag.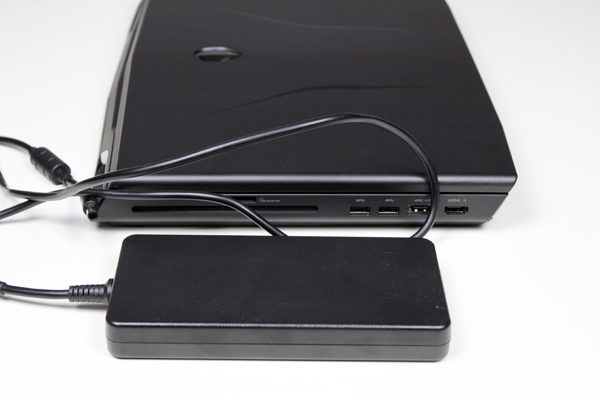
The air intake vents are located at the bottom. The one placed at the left takes care of CPU cooling and you’ll get to hear it a bit more often than the GPU fan, which is placed on the right side.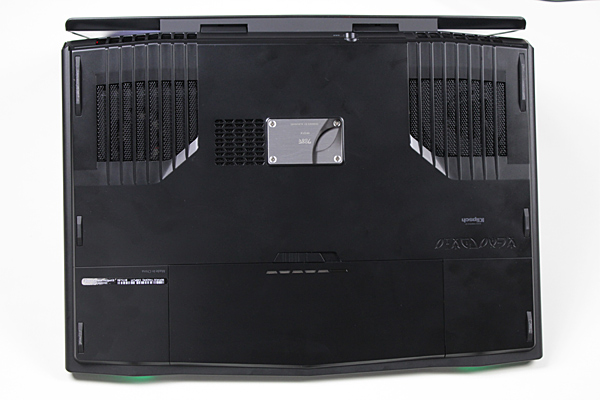
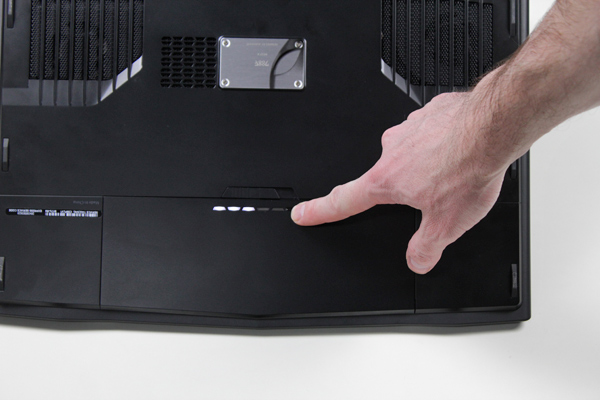
In case you are not sure about the battery levels, the LED indicators come in quite handy. Simply pressing a button located next to the LEDs lights them up and shows you how much juice you’ve got left.