Index
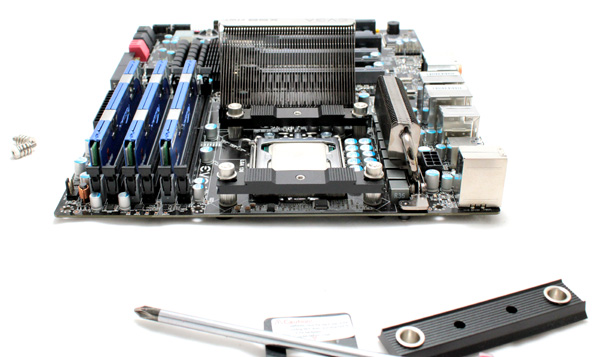
Mounting the Genesis cooler is not complicated and can easily be performed by following the included written instructions, provided the cooler is compatible with your motherboard of course. For this reason we’ll skip the mounting procedure and show the Genesis mounted on Asus Rampage II Extreme motherboard.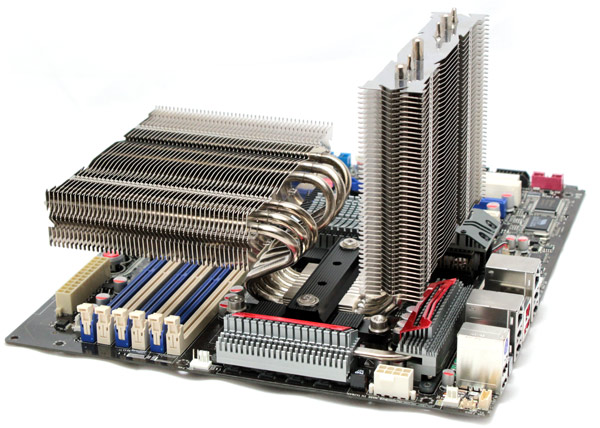
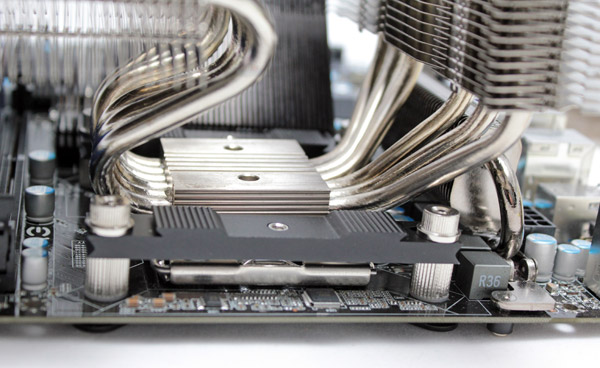
Genesis packaging says that it will cool your CPU, RAM, MOSFET and Northbridge chipset, where our testing has proven it is indeed the case. The picture clearly shows how Genesis cools the memory.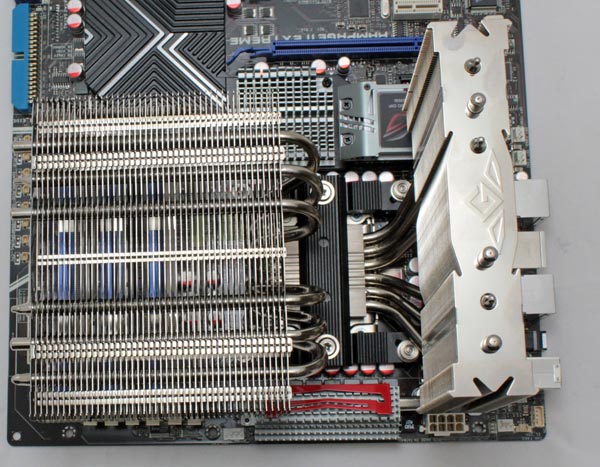
Prolimatech has been making CPU coolers with split heatsinks, such as Megahalem or Armageddon coolers. However, Genesis’ heatsink is not only split but the parts are completely detached from one another. We’ve already said that heatsink measures (L)146mm X (W)216.5mm X (H)160mm. Note that it is designed in order to fit on most motherboards.
However, not all motherboards will like this cooler. For instance, we had difficulties mounting the Genesis on EVGA’s FTW 3 motherboard due to the board using a tall VRM heatsink. We practically couldn’t mount the cooler until we removed the motherboard’s heatsink and replaced it with smaller heatsink modules. VRM temperatures didn’t exceed 67°C, which is in normal limits.
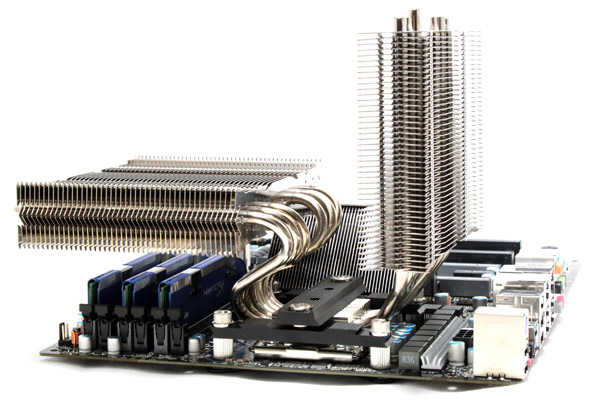
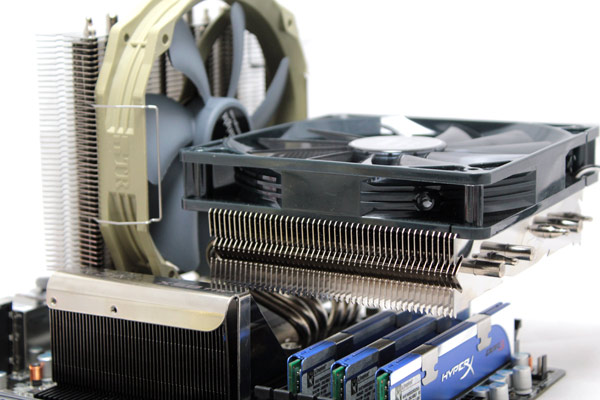
Prolimatech pretty neatly bent several heatpipes and routed them over memory slots. Heatsink has a slim design, with plenty of space below for tall memory modules with heatsinks, such as Corsair Dominator series.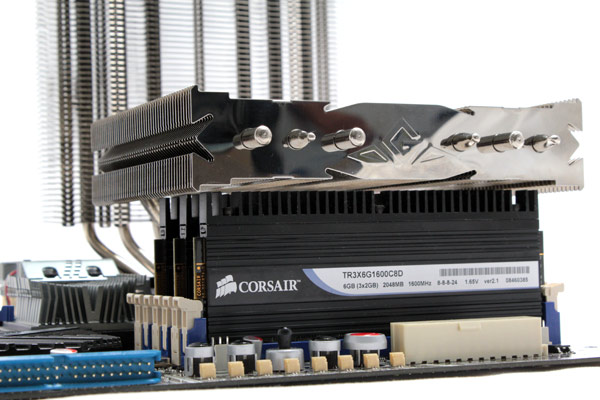
The cooler’s slim design definitely helps with any potential conflicts with memory modules, but bear in mind that you will have to remove the Genesis before replacing the memory. However, Genesis can be removed by unscrewing two screws so that should not take up too much of your time.
We managed to mount Kingston's memory modules without taking the cooler off.
In most cases, though dependent on motherboard design, Genesis will take two 14cm fans in a push-pull configuration (it’s also possible to mount two 12cm fans).
Testing
We performed our testing in Corsair Obsidian 800D case with three reference fans running at 900RPM (room temperature about 22°C). Our weapons of choice were EVGA’s X58 FTW3 motherboard and Core i7 930 CPU. The temperatures were measured at reference 2.9GHz as well as after our overclock (we pushed the CPU to 3.6GHz).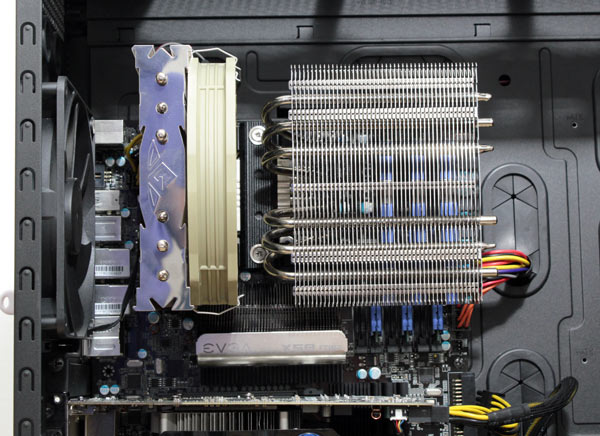
The heatsink measures (L)146mm X (W)216.5mm X (H)160mm, so you might experience difficulties when mounting it on certain motherboards that might have tall and/or wide chipset cooling solutions.
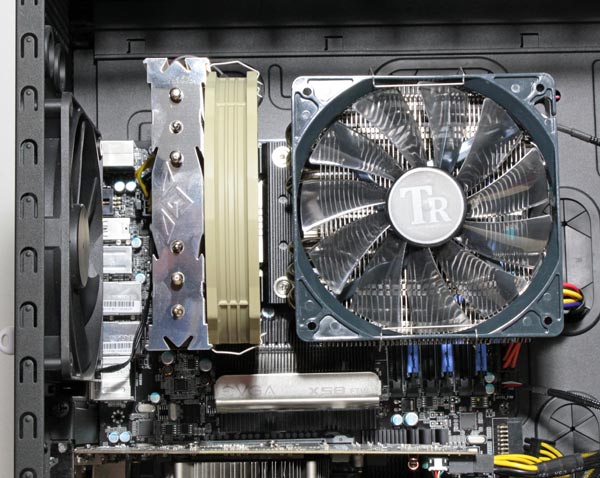
For the first test with Genesis we used one 14cm fan. We’re talking about Thermalright’s TR-TY 140 fan (900~1300RPM) which ended up being enough for excellent Genesis performance. The case’s rear panel houses a 14cm fan that pushes the air out, so we’ve got ourselves a neat push-pull setup here.
We’ve already mentioned that the 14cm, 900 RPM fan on the case’s rear panel does great to improve cooling and ultimately, adding another fan on the coolers tower heatsing made little difference, so we strapped Genesis with one more fan but we mounted it on the heatsink above the memory modules and you can see it on the picture below.
We used Prime95 to put a 100% load on all Core i7 930’s cores, so bear in mind that we’re talking about a scenario that will most probably never happen. We measured temperatures on all four cores using AIDA64 (the successor to Everest), and put average values in the tables. We used Gelid’s GC Extreme paste.

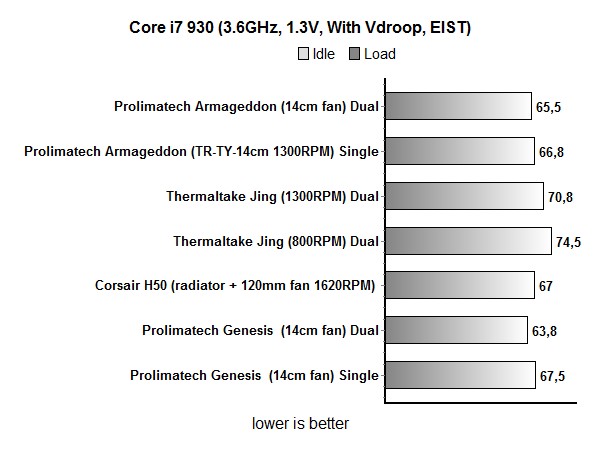
After overclocking the CPU to 3.6MHz, Genesis took the top spot.